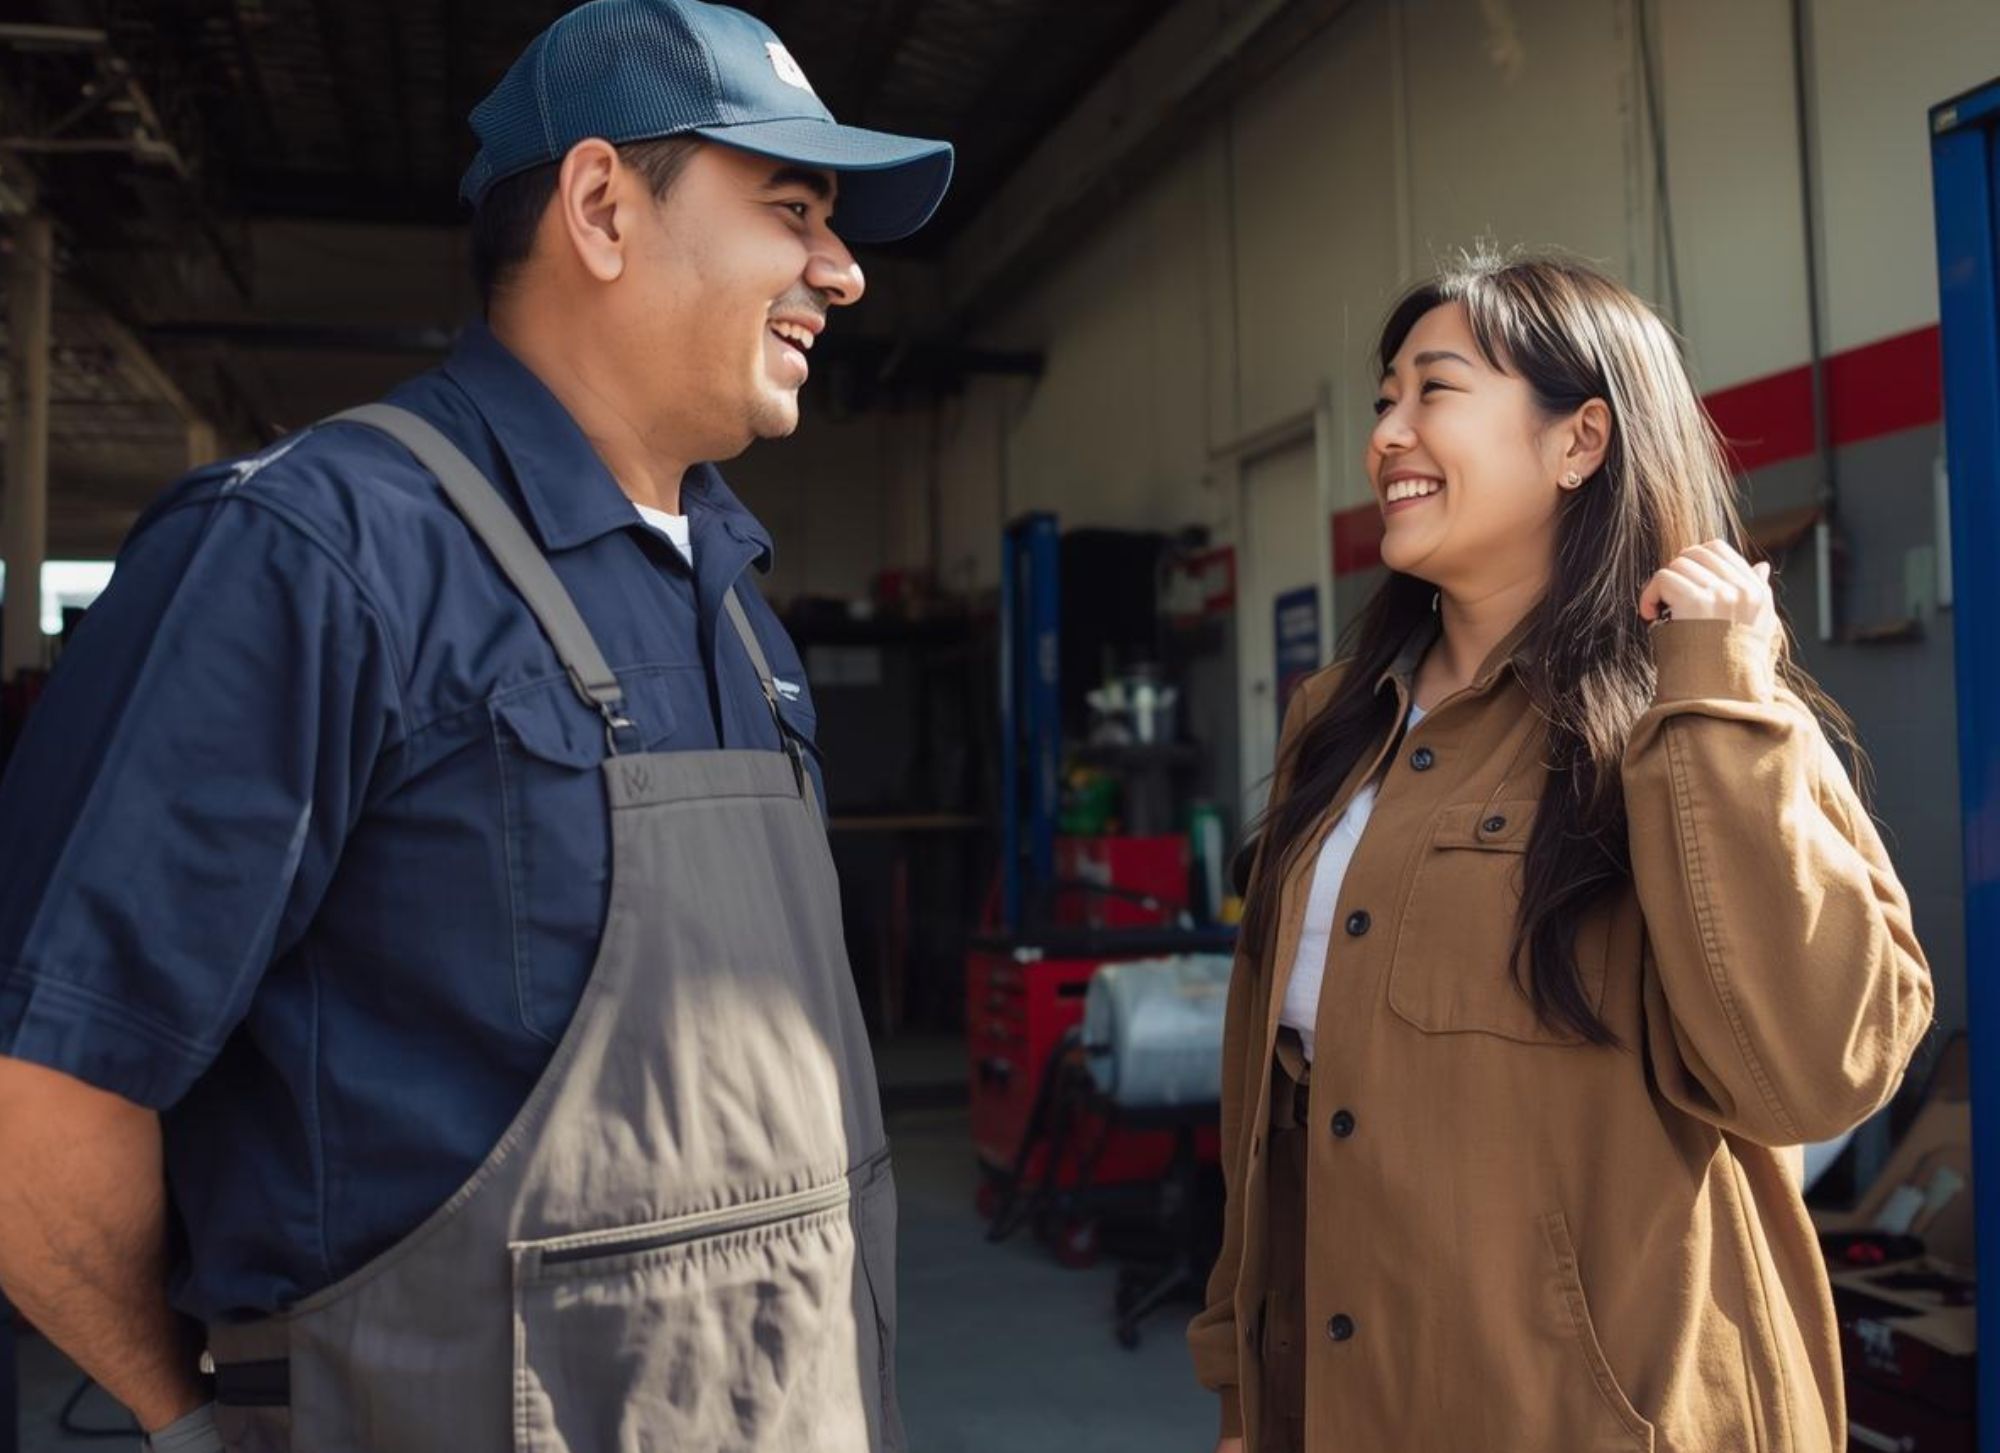

You just paid $316 for an oil change. Not because you drive a Ferrari. Not because you needed synthetic blend from unicorns. Because the dealership charged $167 in labor for a 12-minute task that required $35 in parts, plus a $45 “shop supplies” fee, a $39 “environmental disposal” charge, and a $30 “multi-point inspection” you didn’t request.
This isn’t isolated price gouging—it’s the standard business model. Labor rates at dealerships average $150-$185/hour in 2025, while independent shops charge $95-$145/hour. Both apply those rates to “book time” (the shop manual’s estimated duration) rather than actual time worked. That oil change? Book time: 1.1 hours. Actual time: 12 minutes. You paid for 66 minutes of work that never happened.
According to AAA’s 2025 Your Driving Costs study, average annual maintenance expenses reached $1,224 per vehicle—up 58% since 2019. But here’s what AAA doesn’t advertise: Of that $1,224, approximately $850 represents labor and markup on parts you could install yourself. The actual parts? $375.
My DIY revelation came watching a dealership service bay through their customer waiting area window. The technician performed my “$212 cabin air filter replacement” in 47 seconds. Forty-seven seconds. He opened my glove box, pulled four clips, swapped the $12 filter, and closed everything. I paid $200 for labor on a 47-second task requiring zero tools.
That moment changed my relationship with automotive service forever.
This comprehensive DIY framework provides:
- The 25 tasks ranked by savings-to-difficulty ratio (ROI as high as 2,800%)
- Skill progression system: Month 1 to Year 3 capability development
- Tool investment strategy: $150 starter kit to $800 comprehensive setup
- The “book time scam” revealed: how shops charge for work not performed
- Safety protocols preventing the injuries that make DIY expensive
- When DIY becomes dangerous: the 8 tasks that require professionals
- Economic analysis: 10-year savings of $8,900 with moderate DIY
- Regional climate considerations affecting task difficulty and frequency
- The warranty myth: what actually voids coverage versus what dealers claim
- Mistake recovery protocols: fixing DIY problems before they cascade
- Parts quality spectrum: when OEM required versus aftermarket acceptable
This isn’t a generic “how to change oil” listicle. This is the systematic DIY progression that transforms complete beginners into competent home mechanics while documenting exactly how much money you’re extracting from the dealer/shop profit machine.
The Economic Foundation: Understanding Labor Rate Math
The Shop Business Model You’re Funding
Dealership service department economics:
Labor rate structure:
- Posted rate: $150-$185/hour
- Technician pay: $25-$45/hour
- Shop margin: 70-85% of labor revenue
Book time versus actual time:
- Spark plugs (V6): Book time 2.5 hours, actual time 45 minutes
- Brake pads (front): Book time 1.8 hours, actual time 35 minutes
- Air filter: Book time 0.3 hours, actual time 3 minutes
The multiplication effect:
Dealership oil change breakdown:
- Oil (5 quarts synthetic): $8 wholesale → $45 retail (463% markup)
- Filter: $4 wholesale → $18 retail (350% markup)
- Labor: 12 minutes actual × 1.1 hours book time × $165/hour = $182
- Shop supplies: $45 (covers $3 in rags and absorbent)
- Environmental fee: $30 (disposal costs $2)
- Multi-point inspection: $30 (visual walk-around taking 90 seconds)
- Total charged: $350
- Actual cost to dealer: $52
- Dealer profit: $298 (574% profit margin)
Your DIY economics:
Materials cost:
- Oil (5 quarts synthetic): $30 (retail from auto parts store)
- Filter (premium): $12
- Total: $42
Savings: $308 per oil change Time invested: 25 minutes (including cleanup) Effective hourly rate: $739/hour
The 25 Tasks: Savings-to-Difficulty Ranked
Tier 1: Zero-Skill Required (Anyone Can Do This)
Task #1: Cabin Air Filter Replacement
Savings per occurrence: $65-$180 Frequency: Annual or 15,000 miles Difficulty: 1/10 Time required: 3-5 minutes Tools needed: None (maybe a screwdriver) 10-year savings: $650-$1,800
The dealership scam: They’ll show you your “filthy” filter and recommend replacement—even if it’s clean. The filter costs them $8, they charge you $85-$95 for it, plus $95 “installation labor” for the 47-second job.
DIY reality:
- Open glove box
- Press sides inward to drop glove box fully
- Remove filter cover (clips or tabs)
- Note airflow direction arrows on old filter
- Install new filter same direction
- Replace cover, restore glove box
- Done
ROI: 2,800% (save $180 on $6 investment if buying filter online)
Task #2: Engine Air Filter Replacement
Savings per occurrence: $45-$95 Frequency: 15,000-30,000 miles Difficulty: 1/10 Time: 3-7 minutes Tools: None usually, sometimes screwdriver 10-year savings: $225-$475
Location variations:
- Most vehicles: Rectangular black box near engine center
- Some vehicles: Round housing on side of engine
- Secured by: Clips, wing nuts, or screws
Process:
- Release securing mechanism
- Lift cover or remove housing
- Remove old filter
- Clean housing of debris
- Install new filter (direction usually marked)
- Secure cover/housing
- Done
Quality consideration: Premium filters ($25) last 2x longer than budget ($12) and improve engine efficiency measurably.
Task #3: Windshield Wiper Replacement
Savings per occurrence: $30-$75 Frequency: 6-12 months Difficulty: 1/10 Time: 5 minutes both wipers Tools: None 10-year savings: $300-$750
Why wipers matter: Visibility reduction from worn wipers causes 16% of weather-related accidents according to NHTSA data. This isn’t cosmetic—it’s safety-critical.
Installation variations:
- J-hook: Most common, slide old off, new on
- Bayonet: Push button, rotate off
- Pin lock: Push pin, slide off
- Side pin: Compress pin, slide sideways
Pro move: Premium silicone blades ($35-$50/pair) last 2-3x longer than rubber ($15-$25) and perform better in all conditions.
Task #4: Headlight/Taillight Bulb Replacement
Savings per occurrence: $35-$95 Frequency: 2-5 years per bulb Difficulty: 2/10 to 8/10 (vehicle-specific) Time: 5-30 minutes depending on design Tools: Sometimes screwdriver or socket 10-year savings: $210-$570
Difficulty warning: Some manufacturers (looking at you, certain Audi and Subaru models) require removing the entire front bumper or wheel well liner to access headlights. Know your vehicle before attempting.
General procedure:
- Access bulb housing (may require removing covers)
- Disconnect electrical connector
- Release bulb (twist, pull, or unclip)
- Install new bulb WITHOUT TOUCHING GLASS
- Reconnect connector
- Test before reassembling
Critical: Skin oils on halogen bulbs cause hot spots that shorten life. Use gloves or paper towel.
Task #5: Battery Terminal Cleaning
Savings per occurrence: $45-$85 Frequency: Annual inspection, clean as needed Difficulty: 2/10 Time: 15 minutes Tools: Wire brush, wrench, baking soda 10-year savings: $450-$850
Why terminals corrode: Sulfuric acid vapor from battery vents reacts with terminal metals, creating corrosion that increases electrical resistance, reduces charging efficiency, and can prevent starting.
Proper cleaning protocol:
- Disconnect NEGATIVE terminal first (prevents shorts)
- Disconnect positive terminal
- Mix baking soda and water to paste consistency
- Apply to terminals and posts
- Scrub with wire brush
- Rinse thoroughly with water
- Dry completely
- Apply terminal protection spray or petroleum jelly
- Reconnect POSITIVE first, then negative
- Tighten securely
Prevention: Terminal protection spray ($8) applied after cleaning prevents future corrosion.
Tier 2: Basic Mechanical (15-30 Minutes, Simple Tools)
Task #6: Oil and Filter Change
Savings per occurrence: $75-$265 Frequency: 5,000-10,000 miles depending on oil type Difficulty: 4/10 Time: 25-35 minutes Tools: Jack, stands, drain pan, filter wrench, funnel, ratchet 10-year savings: $1,500-$5,300
The crown jewel of DIY savings.
Complete process:
- Warm engine 5 minutes (thins oil for complete drain)
- Raise vehicle, secure on jack stands
- Locate drain plug (lowest point on oil pan)
- Position drain pan
- Remove plug with proper size socket/wrench
- Allow 10+ minutes for complete drainage
- Inspect drain plug gasket, replace if worn
- Reinstall plug at proper torque (15-25 ft-lbs typically)
- Locate oil filter (use photo reference if needed)
- Remove filter with filter wrench
- Clean filter mounting surface
- Apply thin oil film to new filter gasket
- Install new filter hand-tight plus 3/4 turn
- Lower vehicle
- Add specified quantity and grade of oil
- Start engine, check for leaks
- Shut off, wait 2 minutes, check level
- Add oil to proper level
Critical details:
- Always use manufacturer-specified oil grade
- Torque drain plug properly (over-tighten strips threads, under-tighten leaks)
- Dispose of waste oil properly (auto parts stores accept free)
Cost breakdown:
- Synthetic oil (5 qts): $25-$35
- Premium filter: $8-$15
- DIY total: $33-$50
- Dealer cost: $150-$315
- Savings: $100-$265 per change
Task #7: Tire Rotation
Savings per occurrence: $35-$95 Frequency: Every 5,000-7,500 miles Difficulty: 3/10 Time: 30-45 minutes Tools: Jack, stands (or lift), lug wrench, torque wrench 10-year savings: $700-$1,900
Why rotation matters: Unrotated tires wear unevenly, reducing life 25-40%. On a $800 tire set, that’s $200-$320 lost to premature replacement.
Rotation patterns:
Front-wheel drive:
- Front tires → straight back to rear
- Rear tires → cross to front (left rear to right front, etc.)
Rear-wheel drive:
- Rear tires → straight forward
- Front tires → cross to rear
All-wheel drive:
- Cross pattern both directions OR front-to-back straight (check manual)
Process:
- Loosen all lug nuts 1/4 turn BEFORE raising vehicle
- Raise and secure vehicle on jack stands
- Remove all wheels
- Rotate according to pattern
- Install wheels hand-tight
- Lower vehicle
- Torque lug nuts to specification (80-100 ft-lbs typically) in star pattern
- Double-check all lugs
Critical safety: NEVER work under vehicle supported only by jack. Jack stands are non-negotiable.
Task #8: Brake Fluid Inspection and Top-Off
Savings per occurrence: $25-$65 Frequency: Monthly inspection, top-off as needed Difficulty: 2/10 Time: 5 minutes Tools: None for inspection, turkey baster for old fluid removal 10-year savings: $300-$780
Brake fluid physics: Brake fluid is hygroscopic (absorbs moisture from air). Water contamination lowers boiling point from 400°F+ to 280°F, causing brake fade and potential complete brake failure.
Inspection protocol:
- Locate master cylinder reservoir (usually driver side firewall)
- Check level between MIN/MAX marks
- Assess fluid color:
- Clear to light amber: Good
- Medium brown: Marginal
- Dark brown/black: Contaminated, flush needed
- If low, top off with EXACT specified type (DOT 3, DOT 4, or DOT 5.1—NEVER mix)
Full system flush: Every 2-3 years, requires bleeding all four wheels—consider professional service ($120-$180) or learn proper bleeding technique.
Task #9: Spark Plug Replacement
Savings per occurrence: $95-$285 Frequency: 60,000-100,000 miles Difficulty: 5/10 Time: 45-90 minutes depending on access Tools: Spark plug socket, ratchet, gap tool, torque wrench, anti-seize 10-year savings: $285-$855 (typically 3 replacements in 10 years at extended intervals)
Why spark plugs matter: Worn plugs reduce fuel economy 10-25%, cause rough idle, hesitation, and misfires. On a vehicle getting 25 MPG, degradation to 22 MPG costs $200/year in wasted fuel.
Process:
- Allow engine to cool completely
- Remove ignition coil or plug wire (ONE AT A TIME)
- Blow out debris around plug with compressed air
- Remove plug with spark plug socket
- Inspect old plug for problems (oil fouling, carbon, wear)
- Check gap on new plug (don’t assume pre-gapped correct)
- Apply tiny amount of anti-seize to threads (not tip)
- Install new plug hand-tight
- Torque to specification (typically 15-20 ft-lbs)
- Reconnect ignition coil/wire
- Repeat for remaining plugs
Pro tip: Replace one plug at a time to avoid mixing up ignition order.
Task #10: Serpentine Belt Inspection and Replacement
Savings per occurrence: $85-$195 Frequency: Inspect annually, replace every 60,000-100,000 miles Difficulty: 4/10 Time: 20-40 minutes Tools: Belt routing diagram (photo), proper size socket/wrench for tensioner 10-year savings: $255-$585
Failure consequences: Serpentine belt drives alternator, power steering, A/C, water pump. Failure means:
- Loss of power steering (dangerous)
- Battery discharge (alternator stops)
- Engine overheating (water pump stops)
- Towing required
Inspection criteria:
- Cracks across ribs: Replace immediately
- Fraying edges: Replace soon
- Missing chunks: Replace immediately
- Glazed/shiny appearance: Slipping, replace
- More than 3 years old: Replace proactively
Replacement process:
- PHOTOGRAPH belt routing before removal
- Locate belt tensioner (spring-loaded pulley)
- Use wrench/socket to rotate tensioner (releases tension)
- Slip belt off one pulley
- Remove old belt
- Route new belt following photo/diagram
- Rotate tensioner, slip belt onto final pulley
- Verify correct routing all pulleys
- Release tensioner
- Start engine, verify no squealing
Tier 3: Intermediate Mechanical (1-2 Hours, Moderate Skill)
Task #11: Brake Pad Replacement
Savings per occurrence: $175-$425 Frequency: 40,000-70,000 miles (varies greatly by driving) Difficulty: 6/10 Time: 60-90 minutes per axle Tools: Jack, stands, C-clamp or piston tool, socket set, torque wrench 10-year savings: $525-$1,275 (assuming 3 front, 1-2 rear replacements)
When replacement needed:
- Pads below 3mm thickness
- Squealing from wear indicators
- Grinding noise (too late, rotor damaged)
- Soft brake pedal feel
- Increased stopping distances
Front brake process (most common):
- Loosen lug nuts, raise vehicle, remove wheel
- Locate brake caliper (clamps around rotor)
- Remove caliper bolts (usually 2)
- Lift caliper off rotor (DON’T let hang by brake line)
- Remove old pads
- Inspect rotor for scoring (replace if grooved)
- Compress caliper piston with C-clamp or tool
- Install new pads with anti-squeal shims
- Reinstall caliper, torque bolts to spec
- Pump brake pedal until firm BEFORE driving
- Bed in pads gently first 200 miles
Safety critical:
- Support caliper properly (never hang by brake line—causes damage)
- Compress piston BEFORE installing new pads (thicker than worn pads)
- Pump pedal until firm before moving vehicle
Task #12: Coolant System Flush
Savings per occurrence: $105-$245 Frequency: Every 30,000-50,000 miles or 3-5 years Difficulty: 5/10 Time: 60-90 minutes plus cooldown time Tools: Drain pan, funnel, air removal tools 10-year savings: $315-$735
Why coolant degrades: Coolant isn’t just antifreeze—it contains corrosion inhibitors that deplete over time. Old coolant causes:
- Internal rust and corrosion
- Water pump failure
- Radiator damage
- Heater core clogs
- Overheating
Process:
- Engine COMPLETELY cold (never open hot cooling system)
- Open radiator drain petcock or remove lower hose
- Drain into pan
- Remove radiator cap, allow complete drainage
- Close drain, fill with distilled water
- Run engine 10 minutes, drain
- Repeat until water runs clean
- Fill with proper coolant mixture (usually 50/50)
- Bleed air from system (procedure varies by vehicle)
- Run engine, monitor temperature
- Recheck level after cool-down
Critical: Use ONLY specified coolant type. Mixing coolant types causes gel formation clogging system.
Task #13: Transmission Fluid Drain and Fill
Savings per occurrence: $135-$385 Frequency: 30,000-60,000 miles (check manual, some “lifetime” fluids aren’t) Difficulty: 5/10 Time: 45-75 minutes Tools: Drain pan, funnel, proper wrench for drain plug 10-year savings: $405-$1,155
Why transmission fluid matters: Automatic transmission fluid:
- Lubricates gears and clutches
- Provides hydraulic pressure for shifting
- Cools transmission components
- Degrades from heat and contamination
Drain and fill process:
- Warm transmission (drive 10-15 minutes)
- Locate drain plug (bottom of transmission pan)
- Remove plug, drain into pan
- Reinstall plug with new gasket if required
- Locate fill tube (may be dipstick or plug)
- Add specified quantity and type
- Start engine, cycle through gears
- Check level (engine running, transmission warm)
- Add fluid to proper level
Important notes:
- This drains only 40-60% of fluid (pan capacity)
- Complete flush requires special equipment
- Use EXACT specified fluid type
- Some transmissions require dealer-only fluid
Task #14: Air Conditioning Recharge (Where Legal)
Savings per occurrence: $95-$225 Frequency: 2-5 years (if system leaking) Difficulty: 4/10 Time: 30-45 minutes Tools: A/C recharge kit with gauge 10-year savings: $380-$900
Legal note: Some states require EPA certification for A/C work. Check local laws before attempting.
DIY recharge process:
- Start engine, set A/C to maximum cold
- Connect gauge to low-pressure port (usually has blue cap)
- Read pressure (should be 25-45 PSI when running)
- If low, connect refrigerant can
- Add refrigerant slowly, monitoring gauge
- Stop at proper pressure
- Disconnect gauge
- Check vent temperature (should be 35-45°F)
Warning signs of serious problems:
- System won’t hold charge (leak repair needed)
- Compressor not engaging (electrical or compressor failure)
- Strange noises from compressor (mechanical failure)
Task #15: Power Steering Fluid Exchange
Savings per occurrence: $65-$155 Frequency: Every 30,000-50,000 miles Difficulty: 3/10 Time: 30-45 minutes Tools: Turkey baster, funnel, proper fluid 10-year savings: $260-$620
Why fluid exchange matters: Power steering fluid degrades from heat and pressure cycles, causing:
- Harder steering
- Pump wear and noise
- Rack/gearbox seal leaks
- Expensive system component failures
Exchange process:
- Locate reservoir (usually near front of engine)
- Remove old fluid with turkey baster
- Add new fluid to proper level
- Start engine, turn wheel lock-to-lock 10 times
- Shut off, remove fluid again
- Repeat 3-4 times until fluid runs clean
- Final fill to proper level
Complete flush: More effective but requires disconnecting return line—consider professional service if unfamiliar.
Tier 4: Advanced Projects (2-4 Hours, Significant Skill Required)
Tasks #16-20 (Brief Overview):
Due to complexity and risk, these advanced tasks should only be attempted by experienced DIYers:
- Timing belt replacement ($400-$900 savings, extreme risk if done wrong)
- Strut/shock replacement ($300-$700 savings, spring compressor danger)
- Water pump replacement ($250-$600 savings, timing-related risks)
- Starter motor replacement ($200-$500 savings, electrical hazards)
- Alternator replacement ($175-$450 savings, belt routing complexity)
Risk assessment: These tasks require specialized tools, technical knowledge, and experience. Mistakes can cause catastrophic damage exceeding professional repair costs. Recommendation: Learn these skills on older, less valuable vehicles before attempting on primary transportation.
Tier 5: Maintenance and Inspection Tasks
Task #21: Comprehensive Pre-Trip Inspection
Savings per occurrence: $75-$145 (dealer “multi-point inspection”) Frequency: Before road trips Difficulty: 2/10 Time: 30 minutes Tools: Tire gauge, flashlight, fluid check tools 10-year savings: $450-$870
Complete inspection checklist:
Fluids:
- Engine oil level and color
- Coolant level and condition
- Brake fluid level and color
- Power steering fluid level
- Windshield washer fluid
- Transmission fluid (if accessible)
Tires:
- Pressure all four plus spare
- Tread depth (penny test: Lincoln’s head disappears = OK)
- Sidewall damage or bulges
- Uneven wear patterns
Lights:
- Headlights (high and low beam)
- Taillights and brake lights
- Turn signals
- Reverse lights
- License plate light
Under hood:
- Belt condition and tension
- Hose condition (cracks, swelling)
- Battery terminals clean and tight
- Air filter condition
- Visible leaks
Under vehicle:
- Leaks (oil, coolant, transmission fluid)
- Exhaust damage or rust
- Suspension component condition
- Brake component visual check
Task #22: Headlight Restoration
Savings per occurrence: $85-$195 Frequency: Every 3-5 years in sunny climates Difficulty: 3/10 Time: 60-90 minutes Tools: Headlight restoration kit, drill, tape 10-year savings: $255-$585
Why headlights yellow: UV exposure degrades polycarbonate lens coating, causing:
- 40-80% light output reduction
- Failed inspections
- Dangerous night driving conditions
- Poor vehicle appearance
Restoration process:
- Tape around headlight to protect paint
- Wet sand with 600 grit (heavy oxidation removal)
- Wet sand with 1000 grit (medium smoothing)
- Wet sand with 2000 grit (fine smoothing)
- Polish with compound
- Apply UV protective coating
- Allow to cure per instructions
Professional secret: UV coating is critical—without it, oxidation returns in 6 months.
Task #23: Battery Testing and Preventive Replacement
Savings per occurrence: $45-$95 (testing) + $75-$150 (installation) Frequency: Test biannually, replace every 4-6 years Difficulty: 2/10 Time: 15 minutes testing, 20 minutes replacement Tools: Battery tester or multimeter, wrenches 10-year savings: $270-$735
Testing protocol:
- Load test at auto parts store (free)
- Voltage test: 12.6V+ = fully charged
- Load test results: >9.6V under load = good
- Cold cranking amp test: Should meet spec
Proactive replacement timing:
- 4+ years old: Test every 6 months
- 5+ years old: Replace proactively (failure imminent)
- Extreme climates: Replace at 3-4 years
Replacement process:
- Disconnect NEGATIVE first
- Disconnect positive
- Remove hold-down
- Remove old battery
- Clean tray and terminals
- Install new battery
- Secure hold-down
- Connect POSITIVE first
- Connect negative
- Apply terminal protection
Task #24: Wheel Bearing Inspection
Savings per occurrence: $75-$145 (inspection) Frequency: Annual or when symptoms appear Difficulty: 3/10 Time: 30-45 minutes Tools: Jack, stands 10-year savings: $750-$1,450
Wheel bearing failure symptoms:
- Humming noise increasing with speed
- Noise changes when turning (worse in one direction)
- Vibration through steering
- Uneven tire wear
Inspection process:
- Raise and secure vehicle
- Grasp tire at 12 and 6 o’clock positions
- Rock tire vigorously
- Any play indicates wear
- Rotate tire listening for grinding
- Test all four wheels
If play detected: Schedule professional replacement soon (bearing failure dangerous at highway speeds).
Task #25: Comprehensive Fluid Analysis
Savings per occurrence: $125-$285 (dealer service) Frequency: Annual comprehensive check Difficulty: 2/10 Time: 45 minutes Tools: Various fluid check procedures 10-year savings: $1,250-$2,850
Complete fluid inventory:
Engine oil: Level, color (should be amber/brown, not black) Coolant: Level, color (should match original, not rusty) Brake fluid: Level, color (light amber, not dark brown) Power steering: Level, color (clear red, not brown) Transmission: Level, color (red, not brown/burned smell) Differential: Level if accessible Transfer case (4WD): Level if accessible Windshield washer: Fill level
Fluid condition assessment:
- Clear/light color: Good
- Dark but not black: Marginal, monitor
- Black/burned smell: Immediate service needed
- Milky/foamy: Contamination, serious problem
The Tool Investment Strategy
Starter Kit ($150-$250): First 6 Months
Safety (non-negotiable):
- Safety glasses: $15
- Mechanics gloves: $20
- Jack stands (pair): $60
- Fire extinguisher: $25
Basic tools:
- Socket set (⅜” drive, 8-19mm): $40
- Combination wrench set: $35
- Screwdriver set: $20
- Drain pan: $15
- Funnel set: $10
Total: $240
ROI timeline: First oil change and two filter replacements pay for entire kit.
Intermediate Kit ($400-$600): Months 6-18
Add to starter kit:
- Torque wrench (⅜” drive): $50
- Filter wrench: $15
- Floor jack (3-ton): $120
- Additional jack stands: $60
- Breaker bar: $25
- C-clamp or brake piston tool: $30
- Hex/Allen key set: $20
- Work light (LED rechargeable): $40
- Mechanics stool or creeper: $50
Total additional: $410 Cumulative: $650
Advanced Kit ($800-$1,200): Year 2+
For advanced projects:
- Impact wrench (electric): $150
- More specialized sockets: $80
- Pulley puller set: $60
- Spring compressor: $90
- Specialty tools as needed: $120
Total additional: $500 Cumulative: $1,150
The 10-Year Economic Analysis
Conservative DIY Approach (Basic Maintenance Only)
Year 1-10 savings breakdown:
Oil changes (20 over 10 years):
- DIY cost: $45 × 20 = $900
- Dealer cost: $185 × 20 = $3,700
- Savings: $2,800
Filters (air, cabin):
- DIY cost: $25 × 30 = $750
- Dealer cost: $95 × 30 = $2,850
- Savings: $2,100
Brake pads (3 front, 1-2 rear):
- DIY cost: $180 × 4 = $720
- Dealer cost: $425 × 4 = $1,700
- Savings: $980
Spark plugs (3 sets):
- DIY cost: $85 × 3 = $255
- Dealer cost: $265 × 3 = $795
- Savings: $540
Coolant flush (3):
- DIY cost: $45 × 3 = $135
- Dealer cost: $195 × 3 = $585
- Savings: $450
Conservative 10-year savings: $6,870 Tool investment: $650 Net savings: $6,220
Moderate DIY Approach (Most Tasks from This Guide)
Additional savings:
Transmission service (3):
- Savings: $250 × 3 = $750
Serpentine belt (2):
- Savings: $110 × 2 = $220
Tire rotations (16):
- Savings: $45 × 16 = $720
Battery replacement (2):
- Savings: $120 × 2 = $240
Brake fluid service (4):
- Savings: $90 × 4 = $360
Power steering fluid (3):
- Savings: $90 × 3 = $270
Moderate additional savings: $2,560 Total 10-year savings: $9,430 Tool investment: $1,150 Net savings: $8,280
Safety Protocols: The Non-Negotiables
The Rules That Prevent Injury
Rule #1: Jack stands are mandatory NEVER work under vehicle supported only by jack. Jacks fail. Jack stands save lives.
Rule #2: Eye protection always Even “safe” tasks like air filter changes can send debris into eyes. Wear safety glasses for everything.
Rule #3: Gloves for everything Cuts from sharp metal edges, burns from hot components, chemical exposure from fluids—gloves prevent all of these.
Rule #4: Fire extinguisher accessible When working with fuel systems or near hot components, have extinguisher within reach.
Rule #5: Know your limits If uncertain about a procedure, stop and research/seek help. Pride costs more than professional service.
When DIY Becomes Dangerous: Professional-Only Tasks
Never attempt without extensive experience:
- Airbag system work (explosive components, requires special tools)
- Fuel injection service (high-pressure systems, fire risk)
- A/C compressor replacement (refrigerant requires EPA certification)
- Hybrid/EV high-voltage systems (potentially fatal electrical hazards)
- Suspension with compressed springs (extreme spring energy, serious injury risk)
- Timing belt on interference engines (mistakes cause catastrophic engine damage)
- Advanced electrical diagnosis (modern vehicles require specialized scan tools)
- Emissions system repairs (tampering illegal, expensive specialty tools required)
The principle: If specialized tools cost more than professional service, or safety risks are significant, use professionals.
Conclusion: The DIY Journey
DIY automotive maintenance isn’t about becoming a master mechanic—it’s about taking control of routine tasks that shops charge premium prices to perform while building skills progressively over years.
The progression:
Year 1: Master zero-skill tasks, learn basic safety protocols, invest in starter tools Savings: $1,200-$2,000
Year 2: Add intermediate mechanical tasks, build confidence, expand tool collection Savings: $1,800-$3,200
Year 3+: Tackle advanced projects selectively, maintain skills on multiple vehicles Savings: $2,400-$4,500 annually
10-year cumulative benefit: $22,000-$35,000 saved plus invaluable knowledge
The mindset shift:
Stop seeing your vehicle as a mysterious machine requiring experts for every task. Start seeing it as a system of components you can understand, inspect, and maintain yourself when appropriate.
Your $127/hour labor is being spent whether you DIY or not—the question is whether you’re earning it or paying it.
The 25 tasks in this guide represent the intersection of maximum savings and manageable difficulty for home mechanics. Start with Task #1 today, and begin extracting money from the dealership profit machine.
Your wallet will thank you. Your mechanical confidence will grow. And you’ll never pay $316 for a 12-minute oil change again.
Safety Disclaimer: DIY automotive work involves inherent risks. Always prioritize safety, use proper tools and procedures, and seek professional help when uncertain. This guide provides general information—consult vehicle-specific service manuals for exact specifications. The author and publisher assume no liability for injury or damage resulting from DIY attempts.
About This Guide: This comprehensive resource synthesizes automotive service economics, progressive skill development, and safety protocols to empower vehicle owners with knowledge and capabilities for performing cost-effective maintenance while understanding when professional service is appropriate. All recommendations reflect 2025 industry standards and best practices.